Purging a single record
To purge a record whether it is a contact, company, group, record, go to that record in ACT! and press the Purge Notes & History icon on the toolbar or go to Tools > Purge Notes & history to launch the Purge Notes & History wizard.
In the first screen of the wizard, you select whether you want to purge Notes or History records.
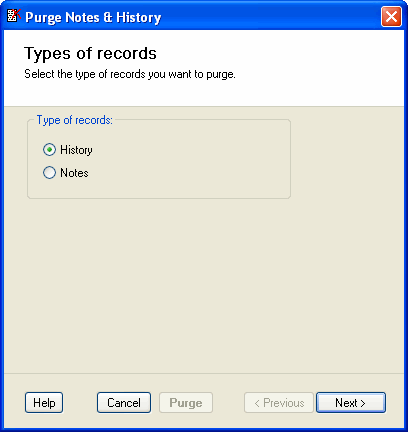 First screen of the wizard.
In the second screen of the wizard (history records only), you select which type of records you want to purge.
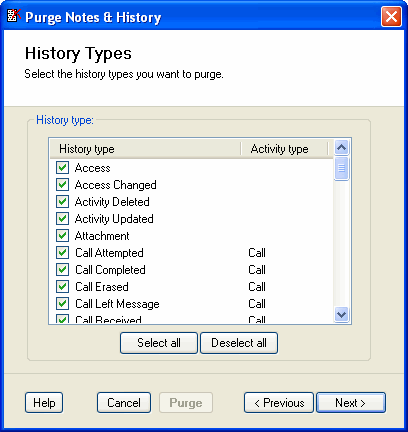 Second screen of the wizard.
In the third screen of the wizard, you select the record managers you want to purge records for.
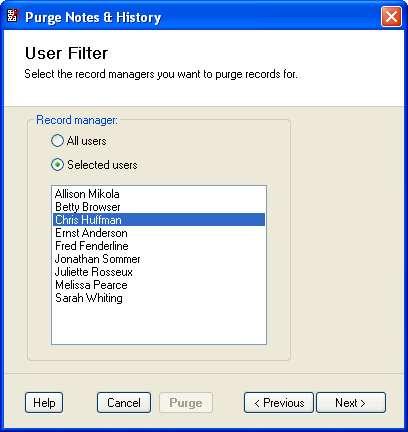 Third screen of the wizard.
In the fourth screen of the wizard, you may apply a filter on dates or the content of the regarding field.
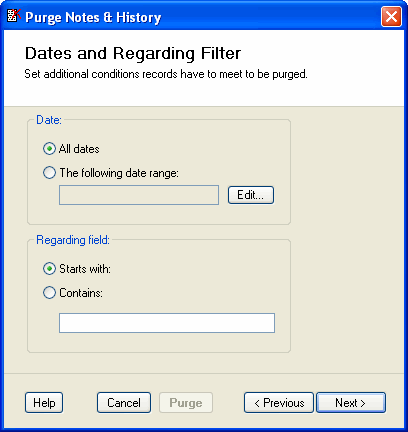 Fourth screen of the wizard.
Finally in the fifth screen of the wizard, you select which records you want to purge.
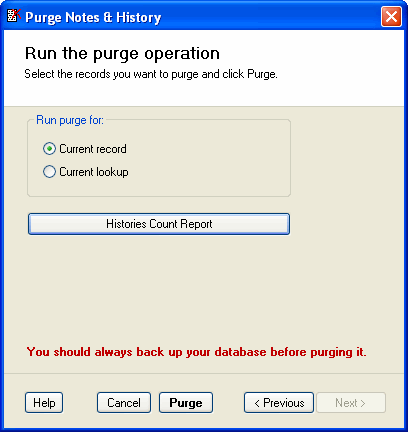 Fifth screen of the wizard.
For companies and groups, you can only purge the current record. That's also why the Purge History icon is not available in the company and group list views. Note that when purging a company or group, only history records or notes of this company or group are affected, not the history records or notes of the contact belonging to this company or group.
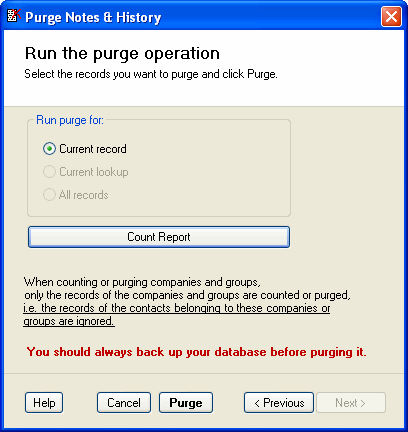 Fifth screen of the wizard for Company or Group records.